Are you looking for a fun and easy way to paint? If so, you should try watercolor painting. It's a great way to get started with art and it's fun and relaxing. Follow the steps on this post about watercolor painting for beginners to start your own watercolor journey off on the right foot!
What is Watercolor Painting?
Watercolor is a unique, liquid medium that is transparent. This is because it is created using a water-soluble binder, like gum arabic, and is thinned with water as opposed to oil.
Watercolor painting can take many forms such as watercolor paint tubes, hard watercolor cakes, and watercolor pencils.
- Watercolor tubes:
These are the most common way to start. You fill the tube with paint and add more water until the desired consistency is reached.
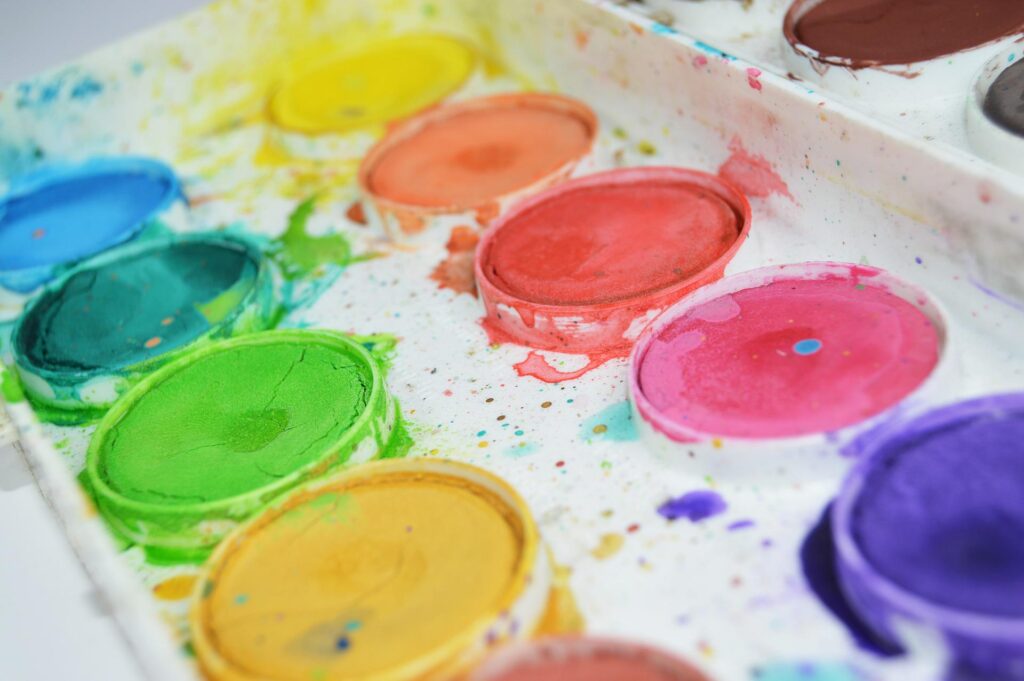
- Watercolor cakes:
These are like tubes, but they come in a variety of shapes and sizes. They are great for detailed work or for painting on a large surface.
- Watercolor pencils:
These are perfect for small details or for painting on the go.
What Supplies You'll Need to Start Painting
Watercolor supplies can be found at almost any large grocery store, but it's important to get quality ones. Craft paints and kid's paints will be oily and not blend as smoothly as normal watercolor paints.
Watercolor paper:
To start out with, you will need to get some watercolor paper. Watercolor paper comes in different weights, such as 90 lbs., 140 lbs., and 200 lbs. The higher the weight, the thicker the paper and the less likely it is to warp.
Watercolor paints:
Next you will need some watercolor paints. Master's Touch paints at Hobby Lobby offers a wide variety of colors for a lower price; however, Marie's offers better quality paint tubes. Koi has a good selection of paint cakes, and Derwent has some excellent watercolor pencils. See these watercolor paint options here.
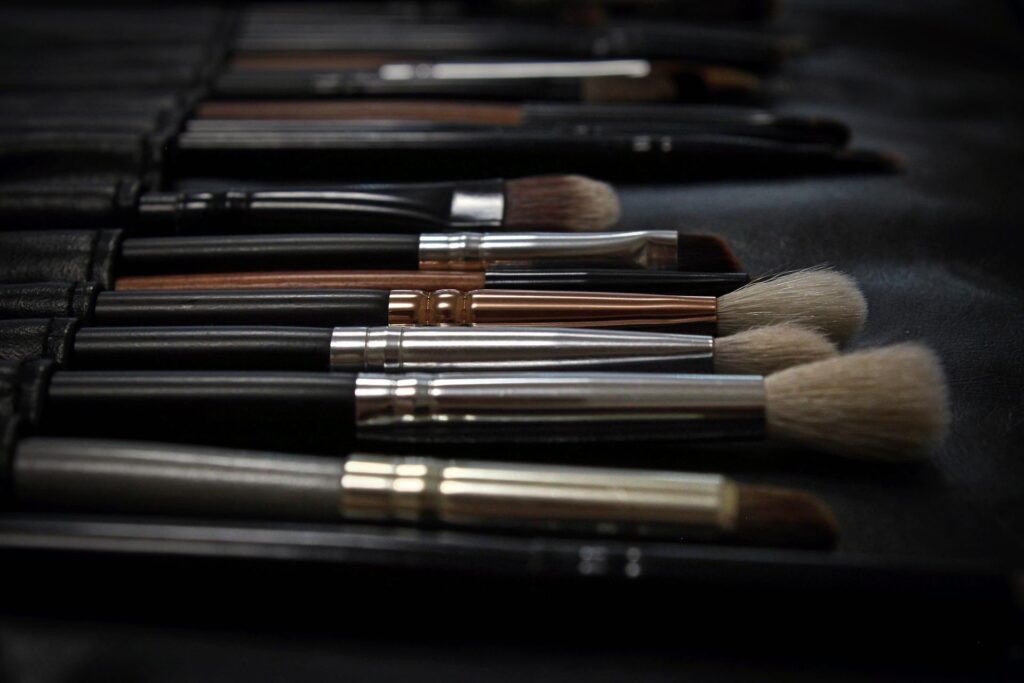
Watercolor brushes:
Brushes are an important part of watercolor supplies. They come in round, flat, filbert, feather, chisel, and mop bristles. Each of these are useful for different effects or areas in a painting. A round brush is good for larger areas, such as the sky, while an angled brush is good for tree leaves or ocean waves. See these brushes here.
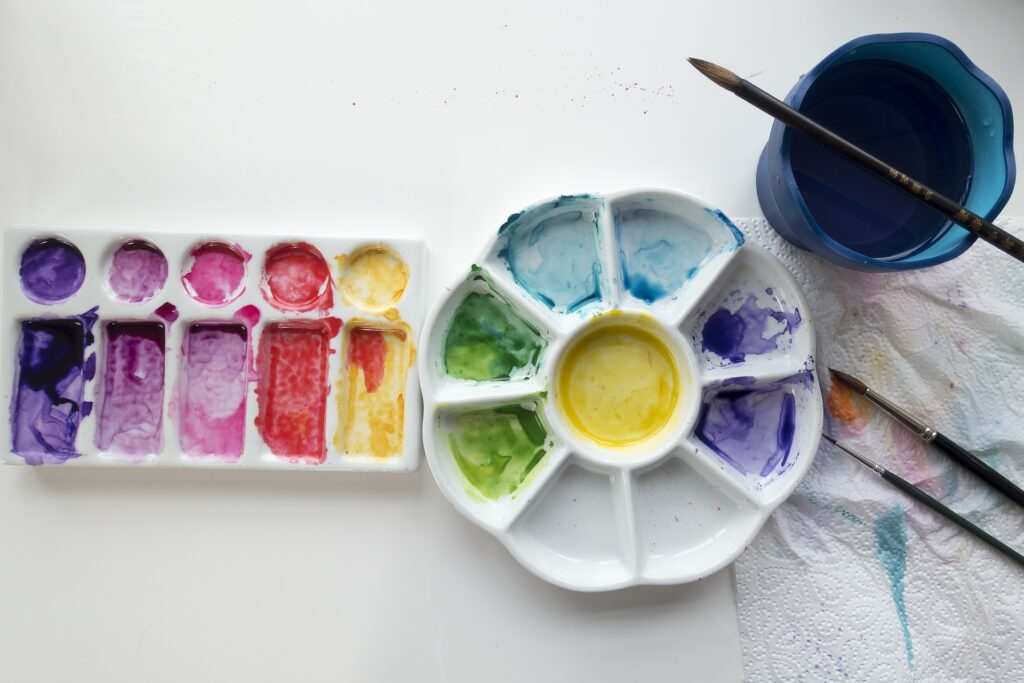
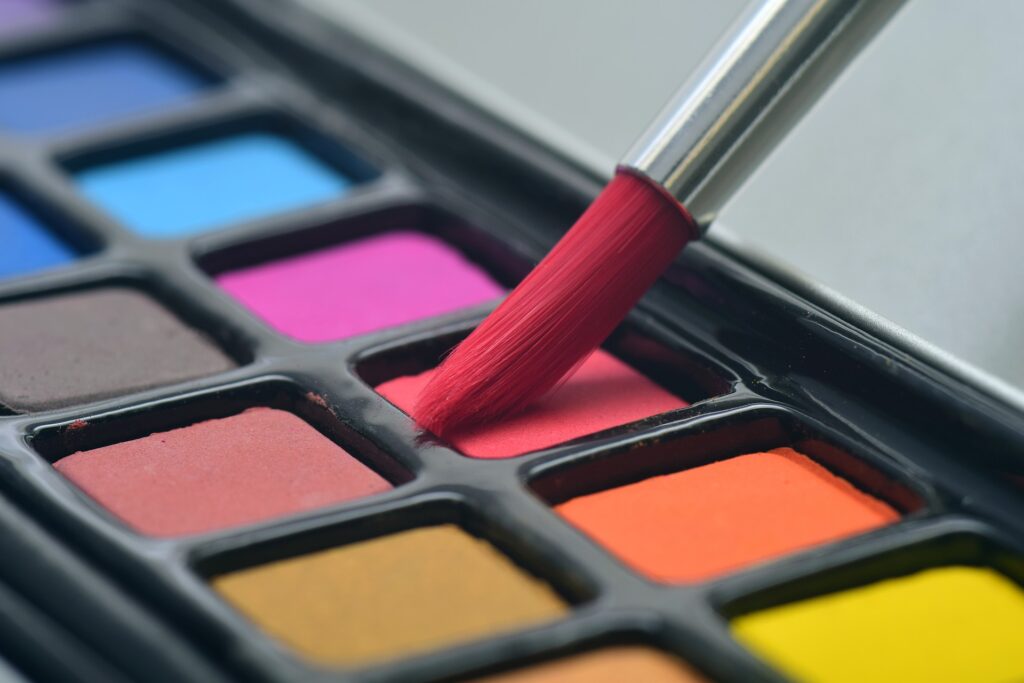
Watercolor palette:
Next, you will need a watercolor palette. Palettes are made of plastic, ceramic, or painted boards with wells in them that hold different colors of paint. They come in a variety of shapes and sizes, so it's important to find one that fits your needs.
Water container:
Finally, you will need a water glass or cup. Refill your water as it becomes dirty or as needed.
How to Paint in Watercolor
How to Paint with Watercolors for Beginners?
There is no one right way to paint with watercolors. The best way to learn is by experimenting and playing around. There are many tutorials and tips online that will help you get started, including the video at the end of this post.
1. Tape down your paper
Watercolor paper will warp no matter what kind of paper you use, so it's a good idea to tape it down to a hard surface like a cutting mat. Some artists also like to pre-wet the paper, let it stretch, and dry before beginning the paint.
Taping the edges of your paper can also be used to create a cool boarder around all or some sides or the piece. You can experiment with these ideas to see what appeals to you.
(Remember to remove the tape when you're finished!)
2. Draw out or trace your source
Next you need to lightly draw or transfer a drawing of the picture you intend to re-create. The more you plan ahead now, the easier it will be in future!
Watercolor is a semi-transparent medium, which means you can see through it. If you leave dark pencil lines on your paper, the graphite may bleed into your paint or still be visible through your watercolor layers.
Unless you like the look of pencil outlines with watercolor, (which some artists do), we recommend erasing your pencil lines after you have transferred them until you can barely make them out–but not completely. You don't want to undo all your hard work either.
3. Mask out any white or very light areas
Masking fluid is a handy trick that many watercolor artists use. Because you cannot put white watercolor paint on top of watercolor, you can only get white by preserving the exposed white of your paper. This is tricky to do, which is why we recommend masking out.
Masking fluid, (sold by Winsor and Newton), is a stinky liquid that turns to a rubber-like substance when it comes into contact with air. When masking out, you have to work quickly. Use a toothpick or an old brush that you don't mind throwing away and apply the masking fluid to whichever small areas you want to keep white. Let it dry for a few minutes before moving on to the next step.

4. Put down some preliminary washes
It's almost time to start painting! But first, it's a good idea to put down some light, preliminary washes to get the general feel and placement of elements in your piece.
Pick a general color for each section of your piece that changes hue. Then, starting at the top and working your way down, fill in each of these areas using a very watered-down version of the color you chose. You just want to establish where things go on your paper. No details, just washes!
Let your paper completely dry before moving to the next step.
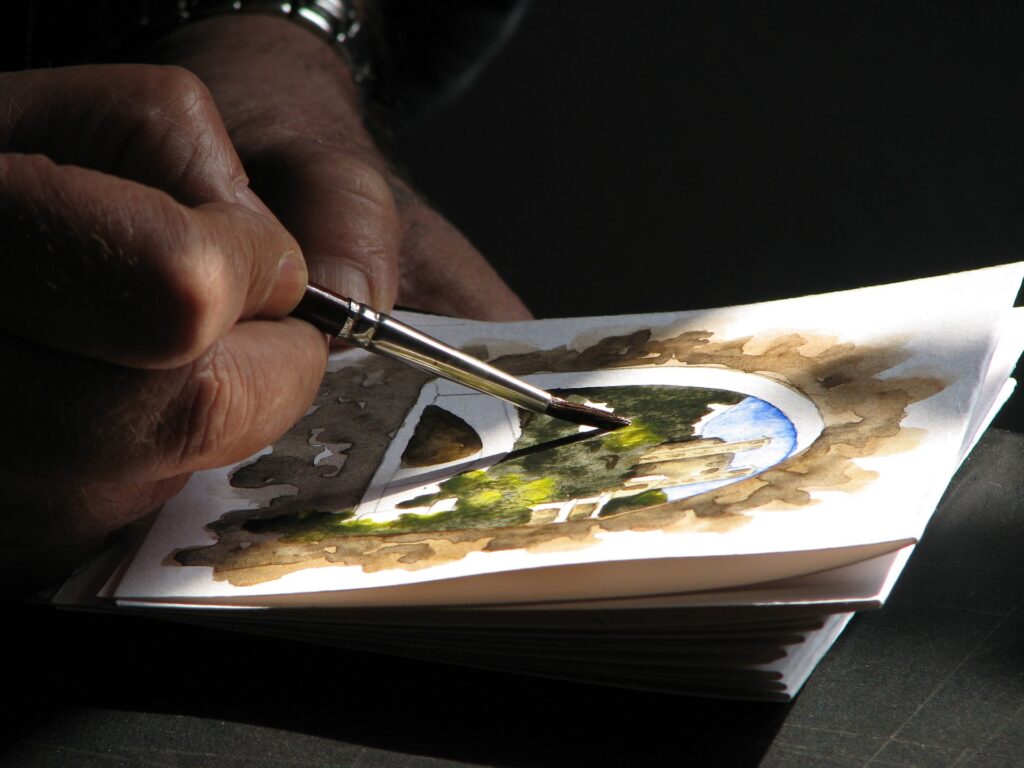
5. Start painting!
Once you have all of your supplies and have gone through the steps above, it's time to start painting!
To begin, mix a small amount of the color you want to use with water and wet your brush. If you get too much water, use a paper towel or sponge to release some of the water and color in your brush. The key to watercolor is knowing how much water-to-pigment ratio you need for a particular section. I highly recommend practicing watercolors on a little sheet of watercolor paper on the side first!
Start by painting a second layer of the base color into the background area of your painting. Vary your colors as the source dictates. If a shadow is darker and has a blue tint, add some Payne's Grey to the mix. If a lighter section catches the sun, keep it to a lighter sap green. The key thing to build up is vales: your picture's dark and light areas.
Now let your second layer dry. Don't be tempted to overwork your painting! I've ruined many watercolor paintings by scrubbing with my brush until the paper beaded up or ripped. Sometimes the best thing to do is just wait until it dries and NOT touch it.
Once the second layer is dry, paint over it with a third layer if you still need to darken or lighten areas, or add more color shifts. Continue building up layers until you get the desired effect.
Don't forget to sign your work with a small brush or non-bleading, ball-tip marker when you're done!
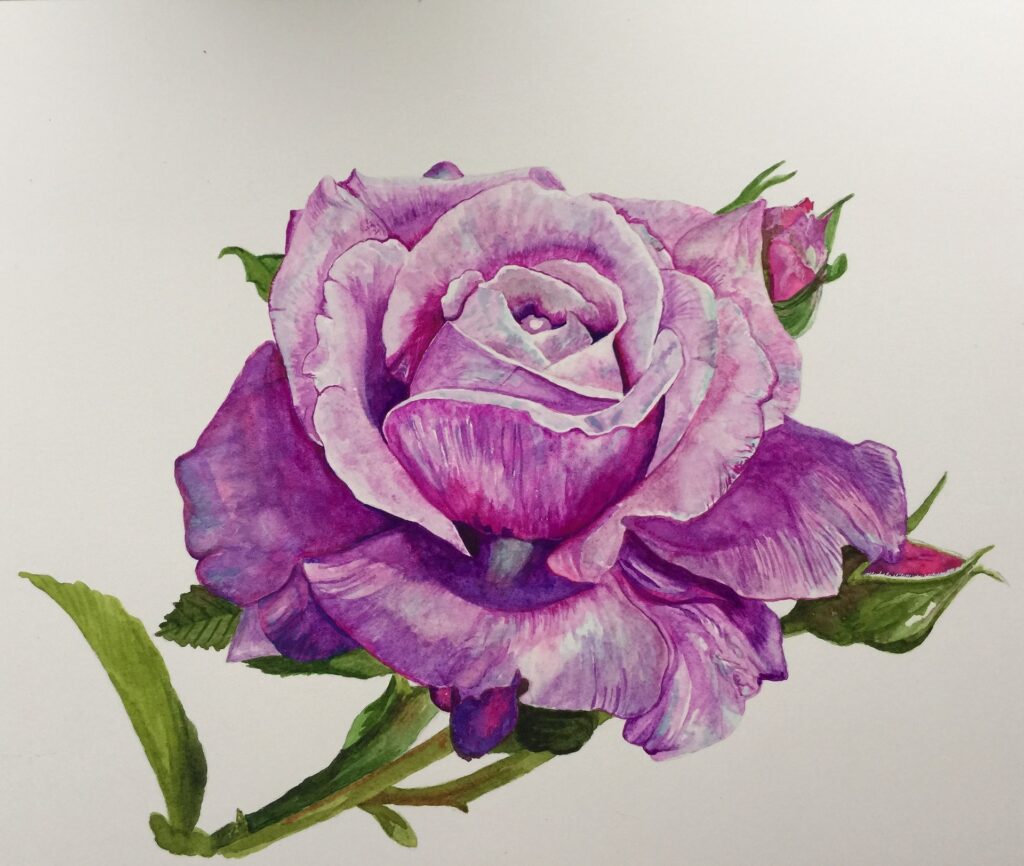
How to Paint a Flower with Watercolor
Watercolor flowers are one of the simplest things to paint with watercolors, and a great subject with which to start. While they can have a pretty complicated appearance, don't let all those little petals get to you! It's just repeating the same techniques over and over again.
Follow these steps to create your own watercolor flower!
1. Sketch out the flower
A flower's general shape is comparable to a cup. A collection of tiny, closely spaced petals that make up the interior of the flower are contained in the center of this cup. Larger petals that gradually expand and bend outwards encircle the outside of the cup. If you simplify your flower sketch into simple geometric shapes, it makes it a lot easier to draw!
2. Put down a light wash
Begin painting with a very light and diluted color for the petals, and a separate wash for the leaves. You can add a secondary color for variety to your petals if you want to as long as it complements the overall flower. Then let your wash dry.
3. Layer, layer, layer
Once your first wash is dry, go over your petals again, keeping in mind the shading of the flower. Leave some white at the tips of the petals for highlights and make the color darker and more concentrated towards the stem where the light will not reach as much. Continue darkening your shadows and deepening your more vibrant areas until you can feel the overall form of the flower taking shape.
As a final touch, look for any little veins in the petals or leaves you can add once it's dry to make your flower pop!
I would recommend starting from the inner petals and working your way out; then from top to bottom, painting the leaves and stem last so that you don't accidentally smear the wet paint with your hand.
Happy painting!
Conclusion
Watercolor painting for beginners is a fun and easy way to create beautiful paintings. With a little bit of practice, you'll be able to create amazing works of art too. But you'll never know how until you try, so what are you waiting for? Get to it!